Hi Guys,
Welcome to the today's post.
In the past posts we have seen how to install ubuntu and SQL Server 2019 for Linux step by step.
Right now I'm making the comparison benchmarks between SQL Server 2019 for Windows and the one for Linux (ubuntu 20.04 lts) so today I'll show you how to install Windows 11 and SQL Server 2019 always step by step.
In fact, in the next post to make the comparison we will run the same T-SQL command script by launching it from a virtual machine with Windows 11 e SQL Server 2019 and on a Virtual Machine with ubuntu 20.04 lts and SQL Server obviously for Linux.
This way the comparison will be even. Same amount of RAM and same disk (SSS).
Enjoy the reading.
Windows 11 installation
First of all we need to go on this page of the microsoft site and download the Windows 11 iso image.
As of today this is the file I downloaded :
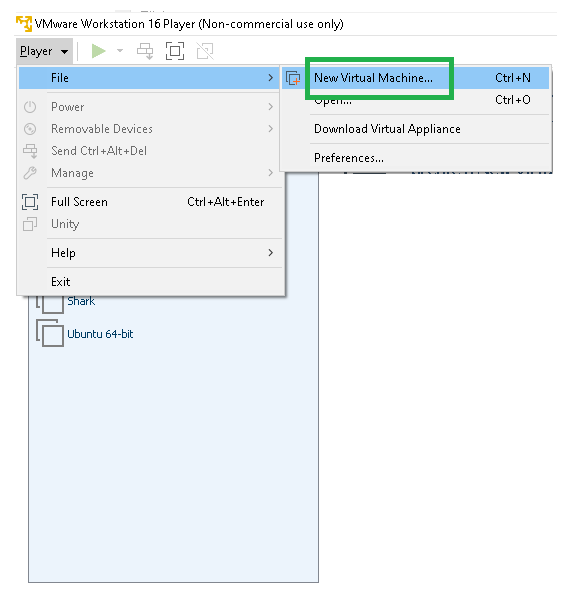
Run the VMware Player (we have seen here how to install it) and from the File Menu choose the item "New Virtual Machine":
Indicates the path where you put the downloaded image, this time however VMPlayer does not recognize which operating system is contained in the ISO image!
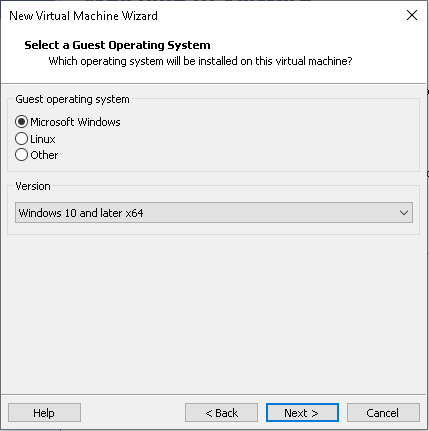
Choose "Microsoft Windows" as guest operating system an "Window 10 and later x64" as version and click on the Next button.
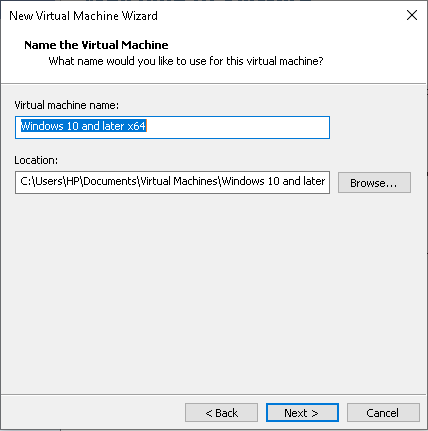
If you want you can choose the location of the physical file of your VM then press the Next Button:
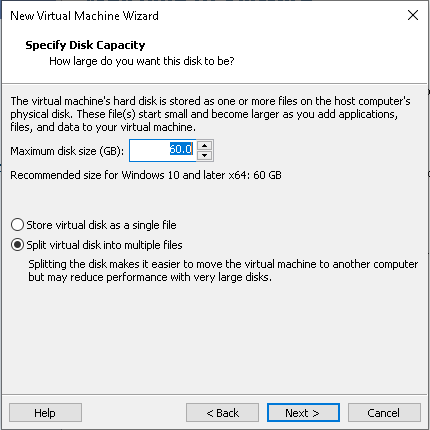
Now you can set the size of the VM image.
By deault in this case our VM will occupy 60GB and you can change this value.
Then press the next button:
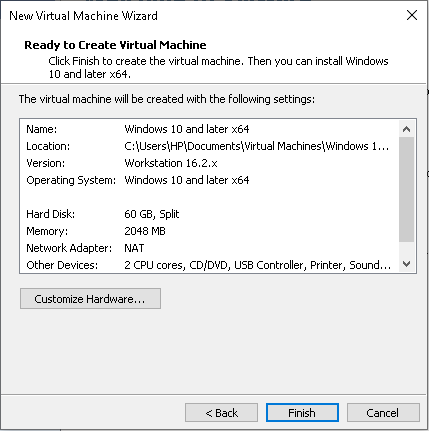
Summary of settings.
Press Finish button:
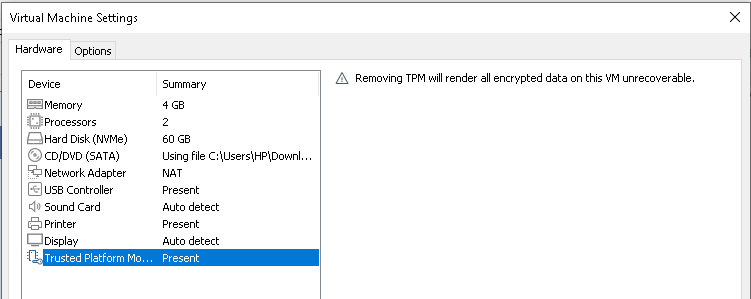
Now, we have a bug problem: Our free edition of VMware 16.2 does not support the TPM capability required by windows 11. But we will add it!
Add to VMware 16.2 the TPM capability
First find the folder where the VMX file is located:
Open the vmx file with the notepad and add the following line:
managedvm.autoAddVTPM = "software"
Save the file.
Now VMplayer has this option:
..And we can start the installation of our operative system!
To do this, you should press play to start the VM.
The installation of the operation system begin..
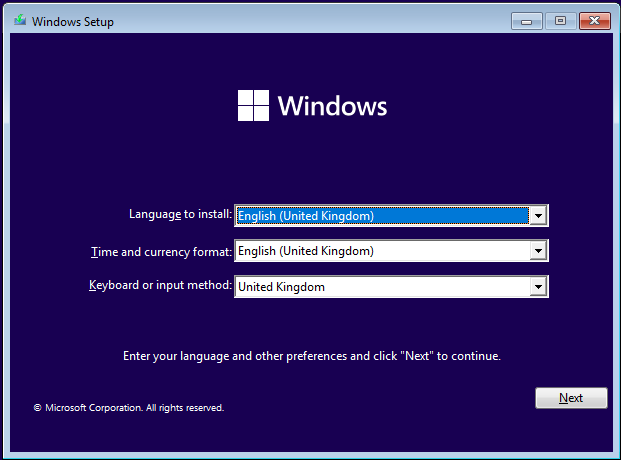
Choose the right values of the options and press next button:
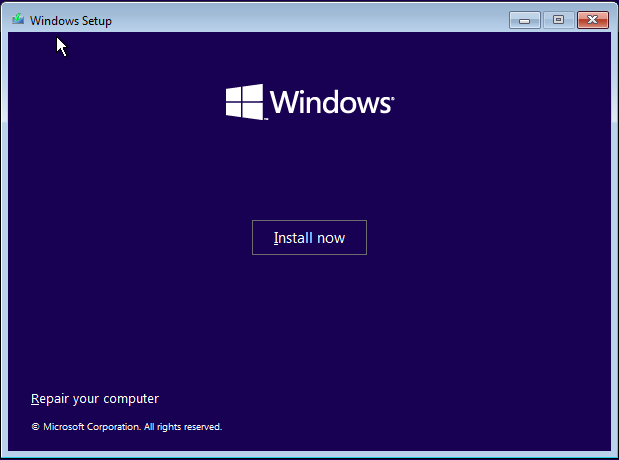
Press now the button install now:
Choose now i don't have a production key (we are only trying this software)
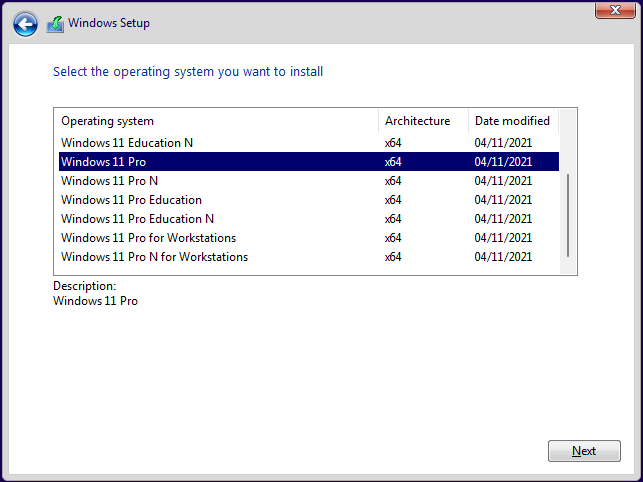
Choose which version you want to try.
I choose the Pro Version, then Press Next button
Accept the Licence Terms:
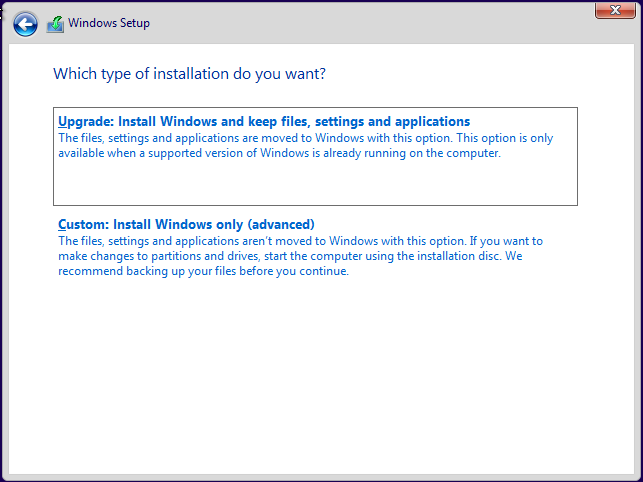
Go with the Custom option!
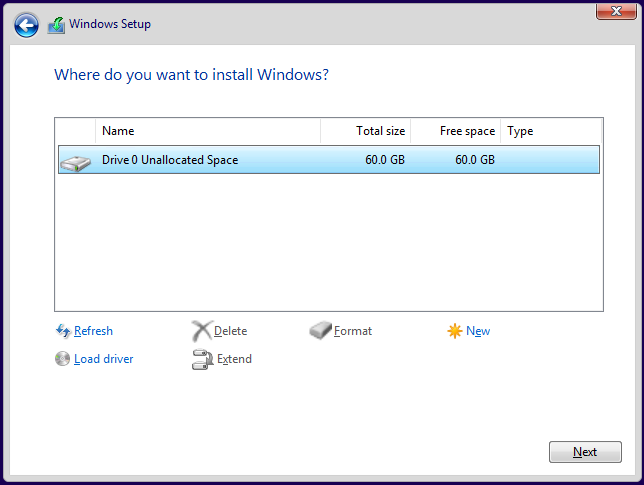
A minimun of 60 GB are required:
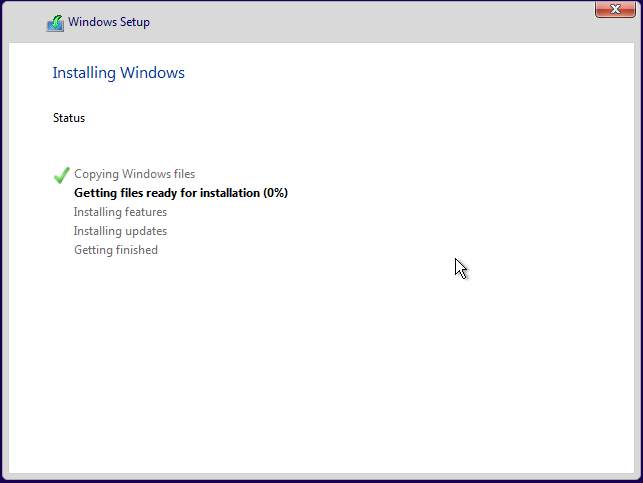
During the installation:
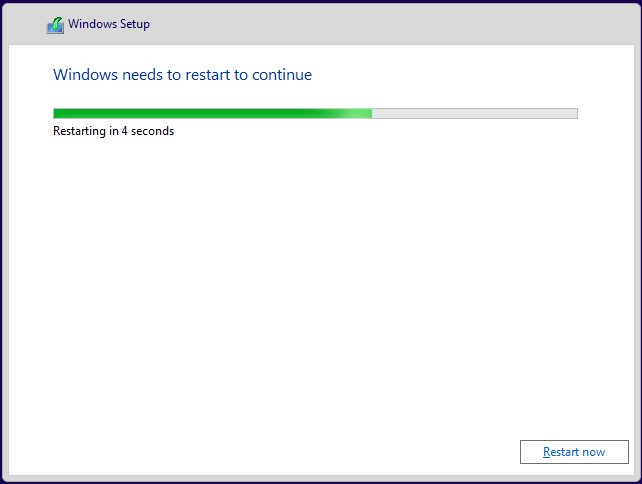
A restart..
And Windows 11 is started!
Now just some configurations . ...as usual...Choose the country and the keyboard layout.
Give a name to the machine:
Adn finally it happens!
This is Windows 11:
We are now ready to install also SQL Server 2019!
SQL Server 2019 installation
Go to the microsoft SQL Server download page here and download the developer version
Execute the downloaded file:
Choose the Custom installation type:
Now choose the path and press install:
Now waint for the end of the download of the package:
Choose from the Installation menu the "New SQL Server stand-alone installation"
Specify a free edition and press next:
Accept the terms and press next button:
Check "Use microsoft Update ..."
Choose features wanted ... at least the database engine service. You could add other feature later.
The default instance is ok for us:
Press next..
Here you can choose the authentication mode:
Use mixed mode in order to use both windows and SQL user.
Use Windows mode to use only windows users.
I choose the Mixed mode.
Then set a password for the user SA and press "add current user"
A summary then ...press install button:
And finally.. the installation come to the end ...without errors:
That's all for today mates!
Next post:
Previous post: SQL Server: let's install SQL Server command line tools for Linux and run the first query!


